Introduction
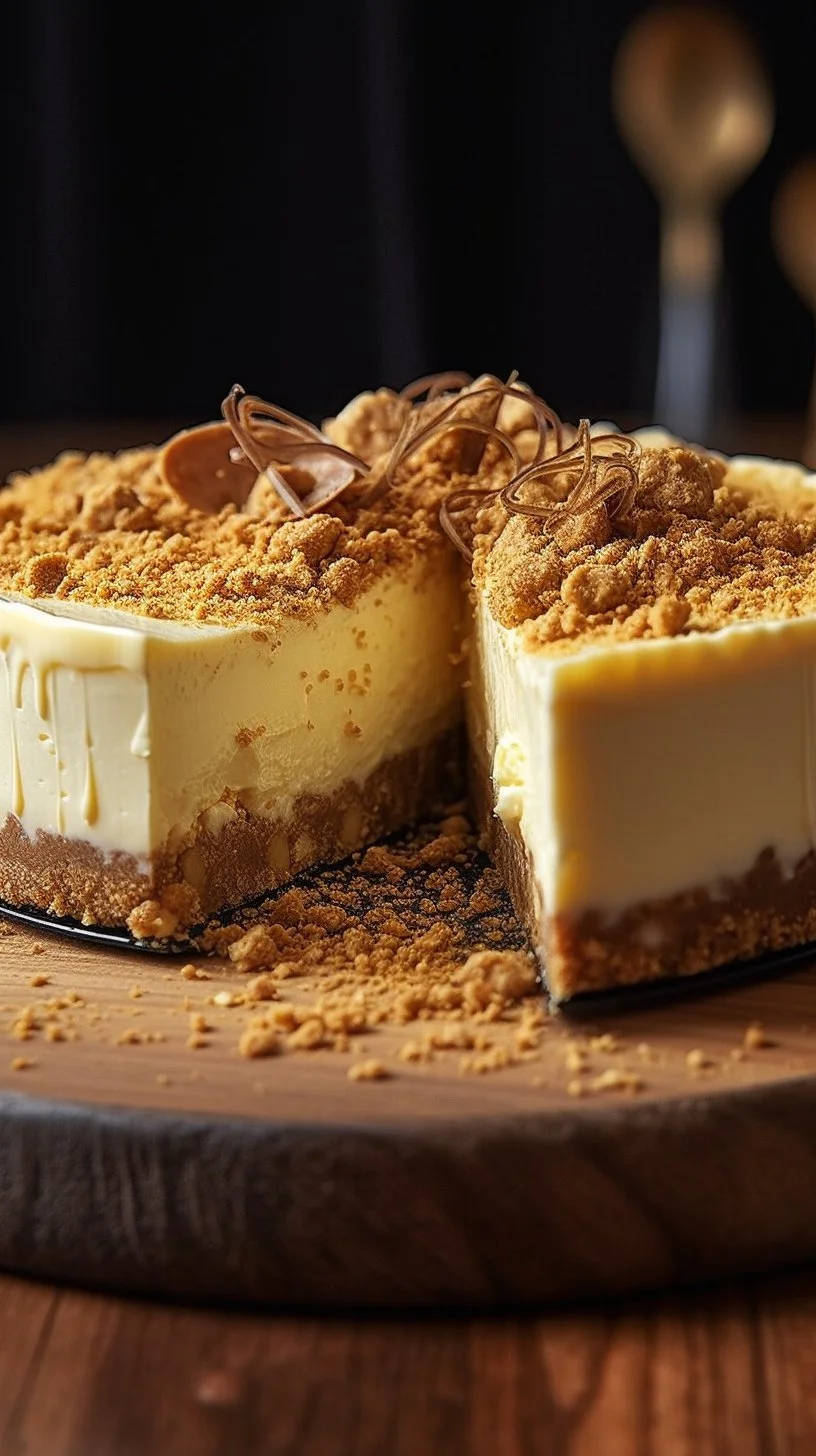
A memory of warm summer nights and a single spoonful that felt like velvet — that’s the moment this Creamy No-Fail Condensed Milk Cheesecake was born in my kitchen. If you’re curious about swapping classic sweetness for something silkier, try this version made with homemade creamy keto condensed milk for a surprising twist on texture and flavor.
Why make this recipe
This cheesecake is the kind of dessert that simplifies celebration: few ingredients, forgiving technique, and a result that’s impossibly smooth. The sweetened condensed milk keeps the filling luxuriously creamy and stable, so even first-time bakers can achieve a glossy, nearly custard-like center without fuss. It’s a crowd-pleaser that feels special — perfect for holidays, a potluck, or a quiet Sunday when you want to treat yourself.
How to make Creamy No-Fail Condensed Milk Cheesecake
The method is cinematic but simple: a buttery crumb base pressed into a pan, a silky condensed milk–laced filling that you whisk until smooth, then a gentle bake until the center shivers but doesn’t quake. For ideas on flavor lifts and chilled textures, I often peek at riffed cheesecakes like this creamy cherry cheesecake fluff for inspiration on toppings and layers.
Ingredients:
- 1½ cups (150g) crushed digestive biscuits
- ½ cup (115g) unsalted butter, melted
- 2 tablespoons sugar (optional)
- 450g cream cheese, softened
- 1 cup (240ml) sweetened condensed milk
- ½ cup (120ml) sour cream
- 3 large eggs
- 1 teaspoon vanilla extract
- 1 tablespoon lemon juice
Directions:
Preheat oven to 160°C / 320°F and grease a springform pan. Mix crushed biscuits, melted butter, and sugar until combined. Press the mixture firmly into the base of the pan and chill for 10 minutes. Beat cream cheese until smooth. Add condensed milk and mix until creamy. Mix in sour cream, eggs, vanilla, and lemon juice. Pour filling over the crust. Bake for 45–50 minutes until the center is just set. Let cool completely, then refrigerate for at least 4 hours before serving.
How to serve Creamy No-Fail Condensed Milk Cheesecake
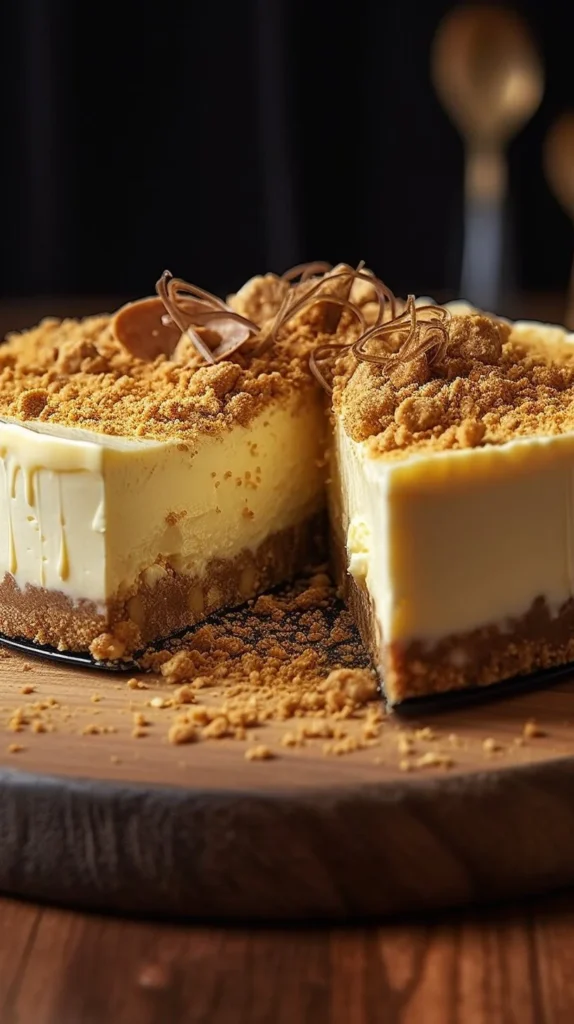
Serve chilled and slice with a hot, thin knife for clean edges. Top with bright berries, a dusting of citrus zest, or a drizzle of salted caramel to contrast the sweet, creamy center. For a dramatic presentation, scatter edible flowers or toasted nuts around each slice — the contrast between silky filling and crunchy garnish makes every bite sing.
How to store Creamy No-Fail Condensed Milk Cheesecake
Keep your cheesecake in an airtight container or covered tightly with plastic wrap in the refrigerator for up to 4–5 days. For longer storage, you can freeze individual slices wrapped in parchment and foil for up to one month; thaw overnight in the fridge before serving.
Tips to make Creamy No-Fail Condensed Milk Cheesecake
- Bring the cream cheese to room temperature for a lump-free, silky filling.
- Beat gently after adding eggs to avoid incorporating too much air, which can cause unnecessary cracking.
- Chill the crust before baking to help it set firmly; pressing it with the back of a spoon gives a professional finish.
- For a playful riff on texture and flavor, see ideas inspired by my favorite riffed brownies like Milky Way caramel cheesecake brownies — you’ll find delightful ways to layer caramel or chocolate.
Variations (if any)
- Citrus Cream: Add 1 teaspoon orange zest with the lemon juice for a brighter, floral note.
- Chocolate Swirl: Fold ¼ cup melted dark chocolate into half the filling, swirl gently on top before baking.
- No-Bake Option: Chill the filled pan overnight instead of baking for a softer, mousse-like finish.
FAQs
Q: Can I use regular condensed milk instead of sweetened condensed milk?
A: Sweetened condensed milk is what gives this cheesecake its signature creamy sweetness and structure. Unsweetened evaporated milk won’t substitute directly — you’d need to adjust sugar and texture.
Q: How do I prevent the cheesecake from cracking?
A: Avoid overmixing and overbaking: mix until just combined, and bake until the center is only slightly jiggly. Cooling the cake gradually — first at room temperature, then chilled — helps prevent cracks.
Q: Can I make this in advance for a party?
A: Absolutely. This cheesecake benefits from at least 4 hours of chilling and can be made a day ahead for best flavor and texture.
Q: What if my crust becomes soggy?
A: Ensure you press the crust firmly and chill before adding the filling. You can also bake the crust for 8–10 minutes before filling for extra firmness.
Conclusion
If you love the idea of a condensed-milk–silky filling but want alternate techniques or no-bake versions, I recommend this cozy take on condensed milk cheesecake from Cheesecake With Condensed Milk – Cooking With Carlee and this solid no-bake approach at Easy No-Bake Cheesecake Recipe – Serious Eats for further inspiration. Whichever path you choose, bake with a little patience and a lot of love — and enjoy every creamy, dreamy bite.
Creamy No-Fail Condensed Milk Cheesecake
Ingredients
Method
- Preheat oven to 160°C / 320°F and grease a springform pan.
- Mix crushed biscuits, melted butter, and sugar until combined.
- Press the mixture firmly into the base of the pan and chill for 10 minutes.
- Beat cream cheese until smooth.
- Add sweetened condensed milk and mix until creamy.
- Mix in sour cream, eggs, vanilla, and lemon juice.
- Pour the filling over the crust.
- Bake for 45–50 minutes until the center is just set.
- Let cool completely, then refrigerate for at least 4 hours before serving.