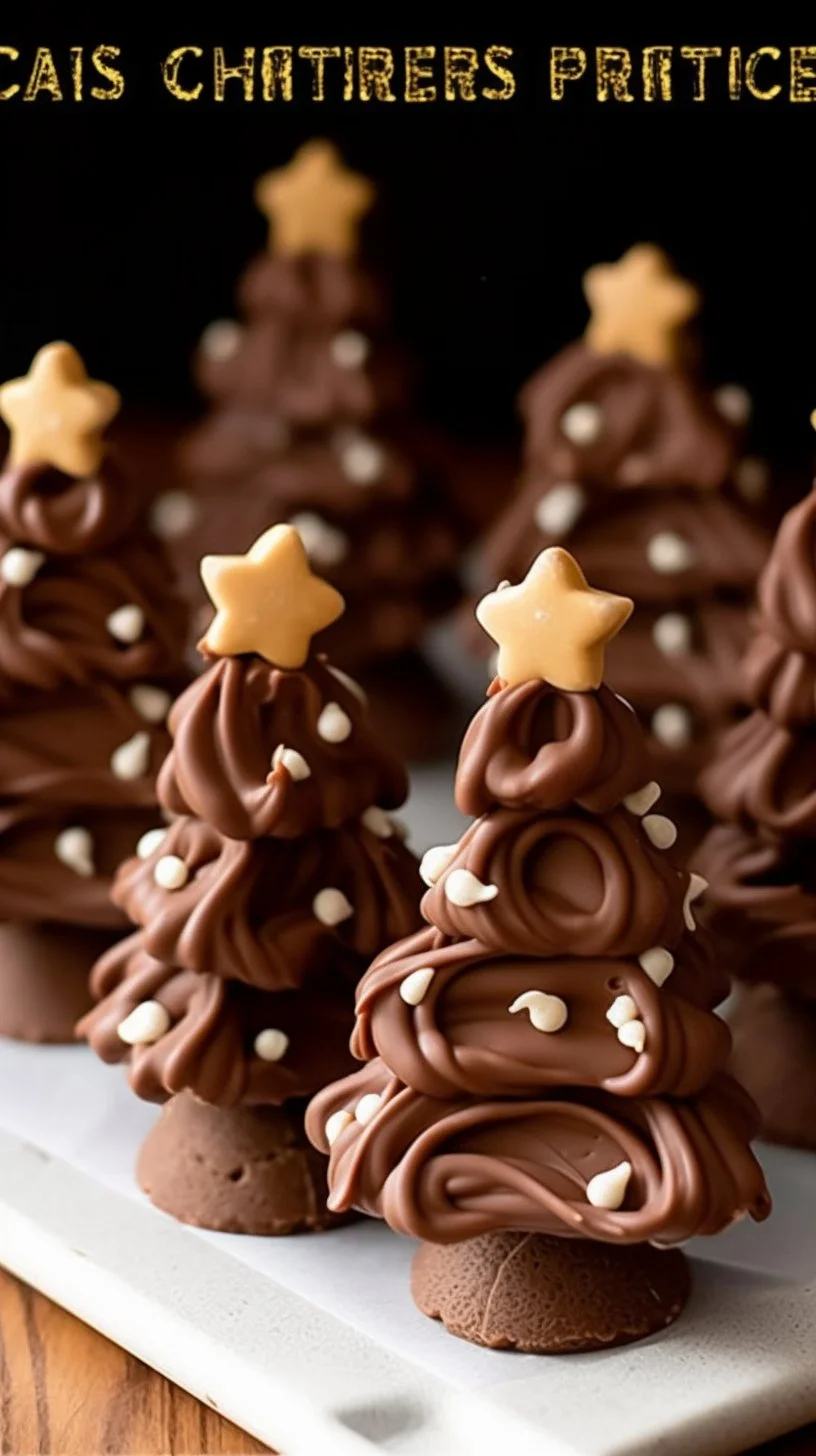
In a cozy kitchen adorned with twinkling lights and the scent of joy in the air, the Chocolate Peanut Butter Christmas Trees stand as festive beacons of holiday cheer. These delightful confections encapsulate the spirit of the season, combining the rich, velvety embrace of chocolate with the warm, nutty sweetness of peanut butter. As we embark on the journey of creating these charming treats, let the simple act of baking become a meditation on love and celebration.
Why make this recipe
Crafting these Chocolate Peanut Butter Christmas Trees is not merely about indulging in a sweet delight; it is an invitation to relive cherished memories of holiday traditions. Each tree, crafted with care, emerges as a symbol of joy, perfect for gifting or adorning your table. This recipe intertwines flavors and textures, creating an experience that delights the taste buds and warms the heart.
How to make Chocolate Peanut Butter Christmas Trees
Ingredients:
- 1/2 cup salted butter, melted and cooled
- 2 cups creamy peanut butter
- 1/4 cup granulated sugar
- 1 tablespoon vanilla extract
- 4 cups powdered sugar
- 3 cups semi-sweet chocolate chips or a combination of semi and milk chocolate chips
- 2 tablespoons shortening
- 1/2 cup milk chocolate chips or pieces
- 1/2 cup white chocolate chips or pieces
- 1 teaspoon shortening, divided in half
Directions:
- Begin by lining a jelly roll or half sheet pan with parchment paper, its smooth surface awaiting the sweet mixture that is to come.
- In a serene moment, summon your hand mixer to beat together the melted butter, creamy peanut butter, granulated sugar, and fragrant vanilla extract until the concoction swells with a smooth and creamy texture. Gradually beat in the powdered sugar until it transforms into a velvety mass.
- With gentle yet purposeful hands, press the peanut butter mixture into the prepared pan, spreading it to a generous 1/2 inch thickness, inviting the blend of flavors to mingle.
- Place this merry sheet pan in the freezer for a brief 15 minutes, allowing it to firm up, growing cold and resolute.
- Once the time has passed, lift the parchment paper to release the chilled peanut butter layer from the pan, a precious canvas waiting to be transformed. Place a new sheet of parchment paper on the pan, ready for more magic.
- Using a cookie cutter, cut out charming 1/2 inch thick Christmas tree shapes from the chilled layer, each shape whispering of festive cheer.
- Place these cutouts lovingly on a parchment-lined sheet pan and return them to the freezer for another 30 minutes, preserving their delightful form.
- Gather the remnants of the peanut butter mixture, pressing them once more to 1/2 inch thickness to create additional tree shapes, each a testament to your creativity.
- After the cutouts have chilled for 25 minutes, it is time to prepare the chocolate coating, where the true decadence begins.
- In a heatproof bowl, combine the semi-sweet chocolate chips with 2 tablespoons of shortening, a union that will yield a smooth, luxurious coating. Heat gently, stirring in 30-second increments until the chocolate fully melts, becoming silky and enticing.
- With a fork in hand, lift one peanut butter cutout at a time and immerse it in the luscious melted chocolate, coating it completely. Tap off any excess and return it to the cookie sheet, taking care in each delicate motion. If the cutouts start to soften, work in smaller batches to preserve their form.
- Allow the chocolate to harden, a magical transformation that brings each tree to life.
- Should you wish to add a touch of elegance, microwave the remaining chocolate chips and shortening (1/2 teaspoon per 1/2 cup) until melted and smooth.
- Carefully scoop the melted chocolate into a plastic baggy or piping bag, snipping a tiny corner to create a drizzle in a whimsical zigzag motion over the chocolate-coated trees, completing their festive attire. Allow the drizzle to set for about 5 minutes, a finishing touch that encapsulates the spirit of creativity.
How to serve Chocolate Peanut Butter Christmas Trees
These enchanting confections are best admired and savored as part of a joyous spread during festive gatherings. Serve them on a decorative platter, perhaps alongside a steaming cup of cocoa or a sparkling cider, inviting laughter and warmth to your holiday table.
How to store Chocolate Peanut Butter Christmas Trees
Store these delightful trees in an airtight container at room temperature for up to one week. For prolonged freshness, consider refrigerating them, knowing that each moment they endure only enhances their charm.
Tips to make Chocolate Peanut Butter Christmas Trees
- Ensure your peanut butter is creamy for easier mixing and spreading.
- For a variation in texture, experiment with crunchy peanut butter instead of creamy.
- Make the chocolate coating process easier by working quickly; a warm kitchen can soften cutouts rapidly.
Variations
Feel free to let your imagination soar. Substitute other nut butters for unique flavors or dip them in white chocolate for an elegant twist. Adding sprinkles or edible glitter can turn these trees into a winter wonderland.
FAQs
-
Can I use natural peanut butter instead of creamy?
Yes, but natural peanut butter may alter the texture slightly, making the mixture less creamy and easier to work with. -
How do I prevent the chocolate from seizing when melting?
Be mindful to avoid steam or water getting into your chocolate, and ensure you stir thoroughly in between heating intervals. -
Can these be made ahead of time?
Absolutely! You can prepare them a few days in advance; they can be stored in an airtight container to maintain freshness.
In the art of baking, patience and love are the finest ingredients, harmonizing in each layer, much like the seasons that inspire us. With every crafted treat, we weave memories not just in flour and sugar, but in every heartfelt moment shared.

Chocolate Peanut Butter Christmas Trees
Ingredients
Method
- Line a jelly roll or half sheet pan with parchment paper.
- In a bowl, beat together melted butter, creamy peanut butter, granulated sugar, and vanilla extract until smooth. Gradually beat in powdered sugar until velvety.
- Press the peanut butter mixture into the prepared pan, spreading to 1/2 inch thickness.
- Freeze for 15 minutes until firm.
- Lift to release the chilled peanut butter layer from the pan. Place a new sheet of parchment on the pan.
- Cut out 1/2 inch thick Christmas tree shapes from the chilled layer using a cookie cutter.
- Place cutouts on a parchment-lined sheet pan and return to the freezer for 30 minutes.
- Gather leftover peanut butter mixture, press down to 1/2 inch thickness to create more shapes.
- After cutouts have chilled, melt the semi-sweet chocolate chips with 2 tablespoons of shortening in a heatproof bowl, stirring until smooth.
- Coat each peanut butter cutout with melted chocolate, using a fork to tap off excess. Return to the cookie sheet.
- Allow chocolate to harden.
- For an elegant touch, melt the remaining chocolate chips and shortening in the microwave, drizzle over chocolate-coated trees and let set for 5 minutes.