Set your taste buds to explore the sweet side of life, embarking on a wondrous journey with these dome cakes topped with velvety chocolate mousse! Picture vibrant street food markets bursting with energy, where every bite is an explosion of flavor—a dazzling dance of decadence that’s a feast for both the eyes and the soul.
Why make this recipe
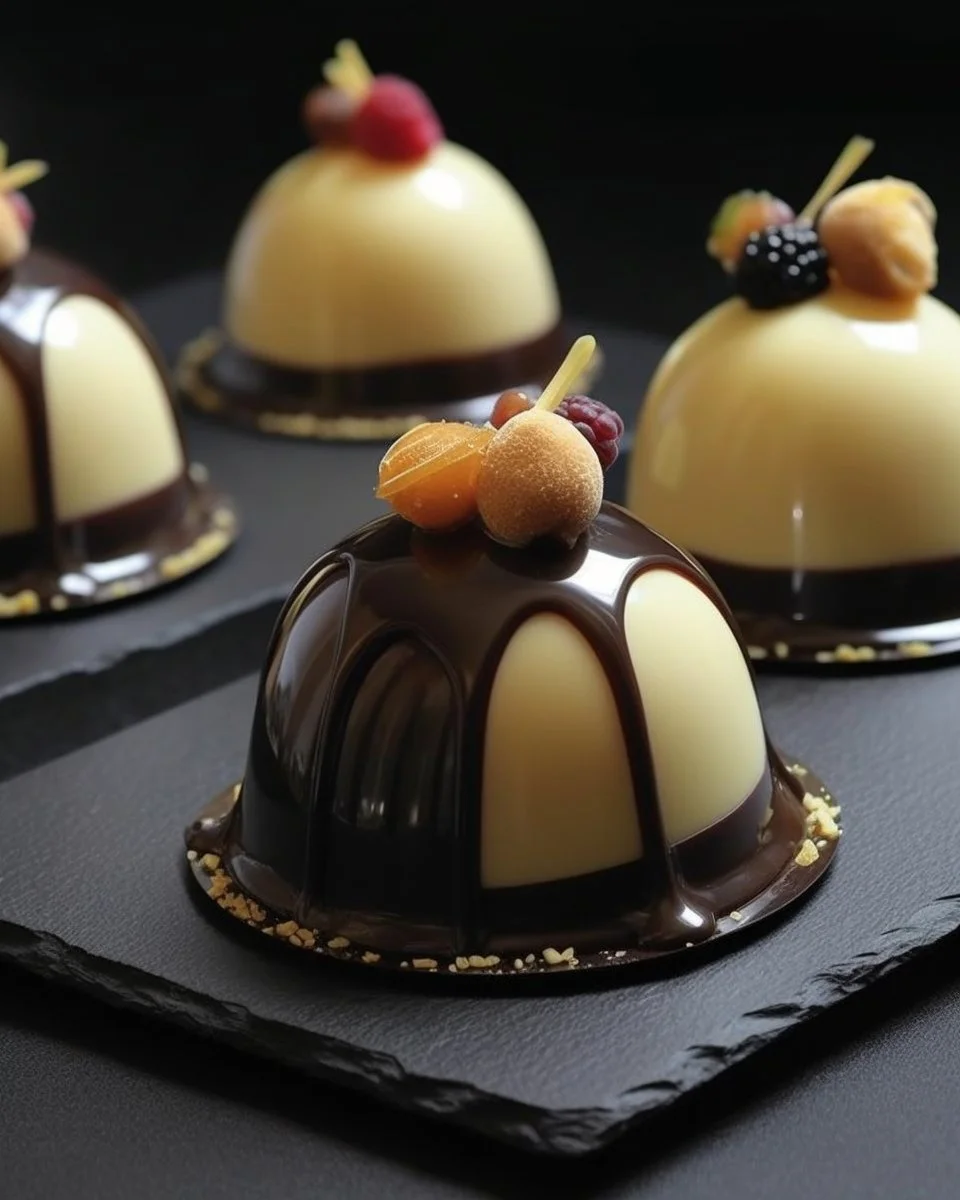
Dome cakes are not just a dessert; they’re an experience! Think of them as little edible sculptures that not only satisfy your sweet tooth but also spark an artistic flair. With a rich chocolate mousse that hugs the cake like a cozy blanket, these beauties are perfect for any occasion. Celebrate life’s little victories or simply indulge in a spontaneous treat. Trust me, once you dive into these dome-shaped delights, you won’t look back!
How to make Dome Cakes with Chocolate Mousse
Ingredients:
-
For the Cake:
- 2 cups all-purpose flour
- 1 ½ cups granulated sugar
- ½ cup unsweetened cocoa powder
- 1 ½ tsp baking powder
- 1 tsp baking soda
- ½ tsp salt
- 1 cup buttermilk
- ½ cup vegetable oil
- 2 large eggs
- 2 tsp vanilla extract
- 1 cup boiling water
-
For the Chocolate Mousse:
- 8 oz semi-sweet chocolate, chopped
- 2 cups heavy cream
- ½ cup powdered sugar
- 1 tsp vanilla extract
-
For Optional Garnish:
- Fresh berries
- Whipped cream
- Chocolate shavings
Directions:
-
Bake the Cake: Preheat your oven to 350°F (175°C) and grease your dome-shaped pans (because who wouldn’t want an adventure in a sea of chocolate?). In a large bowl, mix the flour, sugar, cocoa powder, baking powder, baking soda, and salt—it’s the dry dream team! Then, add the buttermilk, oil, eggs, and vanilla; mix until smooth. Finally, stir in that boiling water—it’s going to create a luscious batter worthy of a standing ovation. Pour the batter into the dome pans and bake for 30-35 minutes. Let them cool, then carefully remove them from the molds, treating them with the softest touch!
-
Whip Up the Mousse: Melt the semi-sweet chocolate in a double boiler or microwave, ensuring that ‘globs’ don’t mar your masterpiece—no one wants lumpy love. In a separate bowl, beat the heavy cream until soft peaks form, adding the powdered sugar and vanilla in the midst of this fluffy ride. Fold in the cooled chocolate until beautifully blended and calls for a thanks-giving. Chill the mousse while your cake cools—this tantalizing scene is far from over!
-
Assemble the Domes: Once the cake and mousse are cool, scoop out a little indention from the bottom of each dome (to make room for the luscious mousse!). Fill it up like a luscious treasure chest, then place the top back on. Cover each dome with even more mousse, creating an astonishing chocolate mountain. Chill all assembled domes for about 30 minutes—patience, young grasshopper!
How to serve Dome Cakes with Chocolate Mousse
Plating is where the magic continues—garnish each dome cake with those fresh berries and a generous dollop of whipped cream to heighten the visual glory. A sprinkle of chocolate shavings here and drizzles of chocolate sauce there, and you’re serving up pure elegance. Your guests’ oohs and aahs will resonate through the room, echoing awe for every bite they devour.
How to store Dome Cakes with Chocolate Mousse
Keep your dome cakes in an airtight container in the fridge, where they can rest and enhance their flavors even more. They’ll stay fresh for about 3-4 days—if you can resist the temptation to devour them all in one sitting!
Tips to make Dome Cakes with Chocolate Mousse
- Make sure to let the ingredients come to room temperature before you mix; trust me, it makes a difference in texture!
- Experiment with flavored ganaches or mousses—raspberry, mint, or even espresso! Grown-ups love a good espresso adventure.
- Don’t hesitate to mix up the cake or mousse flavors; this isn’t a one-size-fits-all recipe!
Variations
Feeling adventurous?
- Swap the chocolate for white chocolate and mix in some citrus zest for a zesty twist!
- Layer the mousse with fruit purees between the cake layers for a colorful and fruity explosion!
- Try flavored whipped creams—lavender or matcha, anyone?
FAQs
Q: How can I prevent my dome cakes from sticking to the pan?
A: Grease those pans like you mean it and use parchment paper at the bottom for extra protection against the sticky aftermath!
Q: Can I freeze these dome cakes with mousse?
A: Absolutely! Just be sure to wrap them tightly for up to a month. Trust me; you’ll want to pull these out on a whim!
Q: What can I do with leftover mousse?
A: Who left overs? You can create a decadent parfait layered with cake crumbs or enjoy it directly from the bowl—no judgment here!
Feel free to embark on this chocolatey journey anytime; dome cakes with chocolate mousse are ready to steal the spotlight and take you on a delectable excursion!

Dome Cakes with Chocolate Mousse
Ingredients
Method
- Preheat your oven to 350°F (175°C) and grease your dome-shaped pans.
- In a large bowl, mix the flour, sugar, cocoa powder, baking powder, baking soda, and salt.
- Add the buttermilk, oil, eggs, and vanilla; mix until smooth.
- Stir in the boiling water until well combined.
- Pour the batter into the dome pans and bake for 30-35 minutes.
- Let them cool, then carefully remove from the molds.
- Melt the semi-sweet chocolate in a double boiler or microwave.
- In a separate bowl, beat the heavy cream until soft peaks form.
- Add the powdered sugar and vanilla, and mix until combined.
- Fold in the cooled melted chocolate until well blended.
- Chill the mousse while the cake cools.
- Scoop out a small indention from the bottom of each dome cake.
- Fill the indention with mousse, then place the top back on.
- Cover each dome with more mousse and chill for 30 minutes.