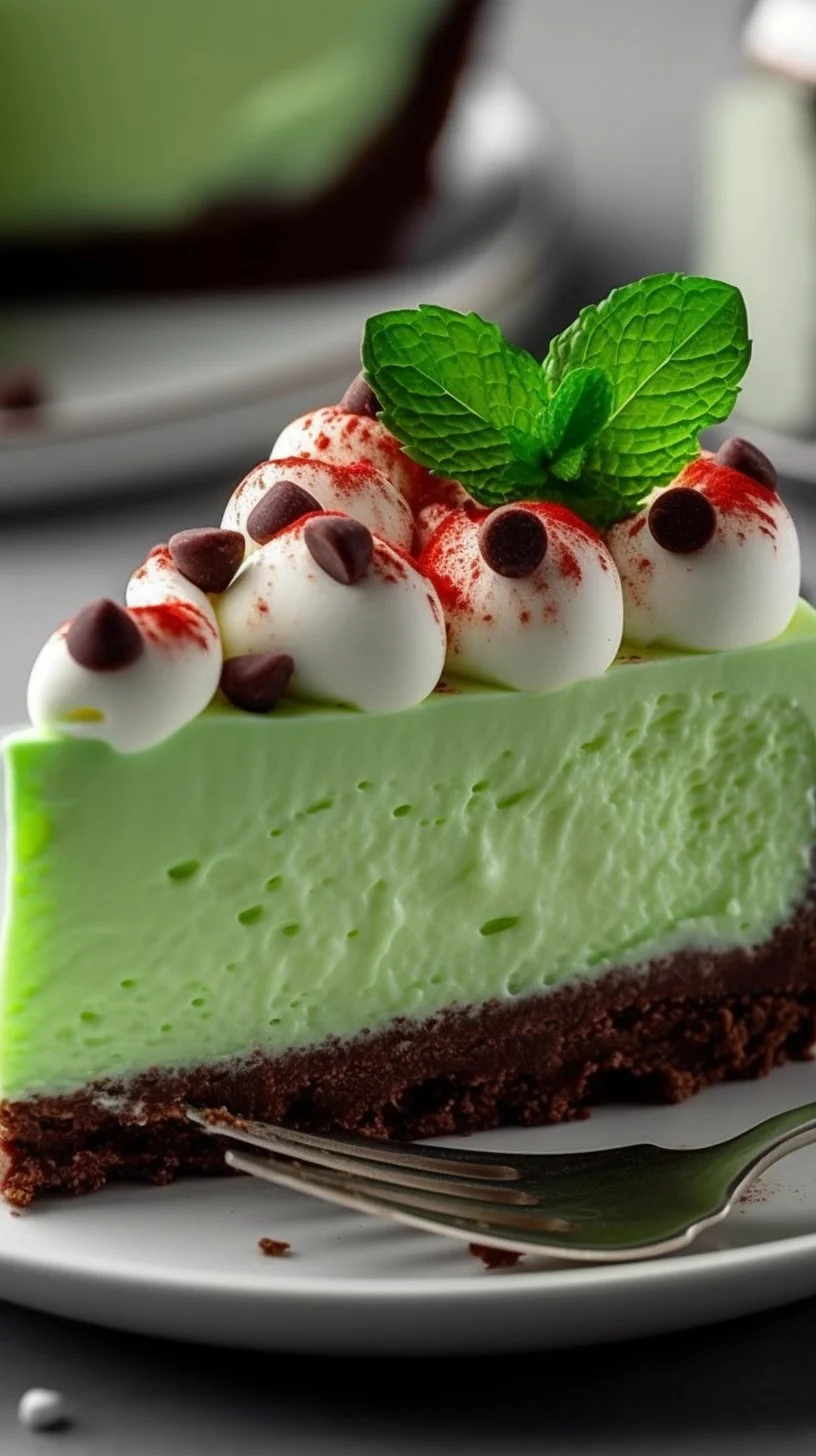
In the spirit of whimsy and delight, behold the No-Bake Grinch Christmas Cheesecake — a festive creation as vibrant as the emerald holiday dreams. With every velvety layer and crumbly indulgence, let this charming dessert awaken both joy and nostalgia, inviting loved ones to gather and celebrate the season with warmth found in the sweetness of shared moments.
Why make this recipe
The beauty of this No-Bake Grinch Christmas Cheesecake is found not only in its captivating hues but in the delightful simplicity of its preparation. Bringing together the classic flavors of creamy cheesecake and the playful crunch of Oreo, this dessert delights the senses and stirs the spirit. It requires no oven, making it the perfect treat to craft amidst the flurry of holiday festivities.
How to make No-Bake Grinch Christmas Cheesecake
Ingredients:
- 72 Oreo Cookies (about 2 standard packages), finely crushed
- 1 cup (2 sticks) Unsalted Butter, melted
- 4 (8 oz) packages Cream Cheese, softened
- 4 cups Powdered Sugar
- 32 oz Cool Whip, thawed
- Neon Green Gel Food Coloring
- ½ teaspoon Mint Extract (optional)
- Red Heart Sprinkles or Red Sixlet Candies (for decoration)
Directions:
-
Prepare the Crust: Begin by transforming the Oreo cookies into a crumbly canvas. Whether you choose to use a zip-top bag and a rolling pin or a food processor, crush those cookies until they resemble tiny pebbles. In a large bowl, embrace them with melted butter, stirring until the mixture takes on the texture of damp sand. Firmly press this concoction into the base of a 9×13-inch pan, creating a solid foundation for your cheesecake. Let it rest in the tranquil chill of your fridge for 30 minutes, allowing the crust to firm into a delightful embrace.
-
Make the Filling: As the crust sets, turn your attention to the luscious filling. In a mixing bowl, beat the softened cream cheese at medium-high speed until it transforms into a cloud of smooth perfection. Gradually introduce the powdered sugar, blending until the mixture takes on an airy fluffiness. Gently fold in the Cool Whip, uniting it with the cream cheese until the two become one harmonious blend. Here, introduce the neon green food coloring and the optional mint extract, mixing carefully until your filling shimmers with that perfect Grinch-like hue.
-
Assemble the Cheesecake: With the crust nestled safely in the fridge, spread the vibrant green filling over it, smoothing the surface with a spatula. This step is akin to painting a verdant meadow, full of whimsy and cheer.
-
Chill: In order for this cheesecake to reach its ideal form, cover and refrigerate it for a minimum of 4 hours — though overnight is preferred — allowing the flavors to meld and the filling to set like a precious gem.
-
Decorate: Just before presenting your masterpiece, awaken the holiday spirit with a sprinkle of festive red heart decorations or bright Sixlet candies atop the cheesecake, creating a joyous crown for your creation.
How to serve No-Bake Grinch Christmas Cheesecake
When the moment arrives to serve this enchanting cheesecake, slice it into generous pieces and present it at the heart of your holiday table. Each slice, with its smooth and creamy texture, invites a taste of sweetness that dances upon the palate.
How to store No-Bake Grinch Christmas Cheesecake
To preserve the magic, cover any leftovers with plastic wrap or store them in an airtight container, and refrigerate. This delightful dessert can be enjoyed for up to five days, maintaining its freshness and festive spirit.
Tips to make No-Bake Grinch Christmas Cheesecake
- For a more refined texture, ensure your cream cheese is thoroughly softened before mixing, allowing for a silkier filling.
- Take care when adding food coloring; start with a little and build to your desired vibrancy to avoid overwhelming the cheesecake’s balance.
- Experiment with the addition of crushed peppermint candies or festive flavors to personalize this treat for your holiday gatherings.
Variations
While the essence of the Grinch shines brightly in this recipe, consider introducing flavored extracts like vanilla or chocolate for added depth. Seasonal fruit toppings, such as raspberries or pomegranates, can lend a fruity brightness that complements the creamy layers below.
FAQs
-
Can I use reduced-fat cream cheese or Cool Whip?
Yes, feel free to substitute reduced-fat options for a lighter version, but note that the texture and taste may vary slightly. -
What if I can’t find neon green food coloring?
Regular green food coloring can be used instead; just adjust the quantity to achieve the desired shade. -
Can I freeze this cheesecake?
Yes, it can be frozen for up to 2 months. Slice it first and wrap each piece tightly before freezing. Thaw in the refrigerator before serving.
As you embark on this sweet journey, remember that baking is a gentle art — a beautiful interplay between patience and creativity. In each careful layer and thoughtfully crafted bite, discover the enchanting solace that this No-Bake Grinch Christmas Cheesecake brings to your holiday celebration.

No-Bake Grinch Christmas Cheesecake
Ingredients
Method
- Begin by crushing the Oreo cookies until they resemble tiny pebbles using a zip-top bag and a rolling pin or a food processor.
- In a large bowl, combine the crushed cookies with melted butter, mixing until it has the texture of damp sand.
- Press the mixture firmly into the base of a 9x13-inch pan.
- Refrigerate for 30 minutes to allow the crust to firm up.
- Beat the softened cream cheese at medium-high speed until smooth.
- Gradually add the powdered sugar and blend until light and fluffy.
- Gently fold in the Cool Whip until combined.
- Add the neon green food coloring and the optional mint extract, mixing carefully.
- Spread the green filling evenly over the chilled crust and smooth the surface with a spatula.
- Cover and refrigerate for at least 4 hours, preferably overnight, to allow the flavors to meld and set.
- Before serving, sprinkle red heart decorations or Sixlet candies on top of the cheesecake.