Why Make This Recipe
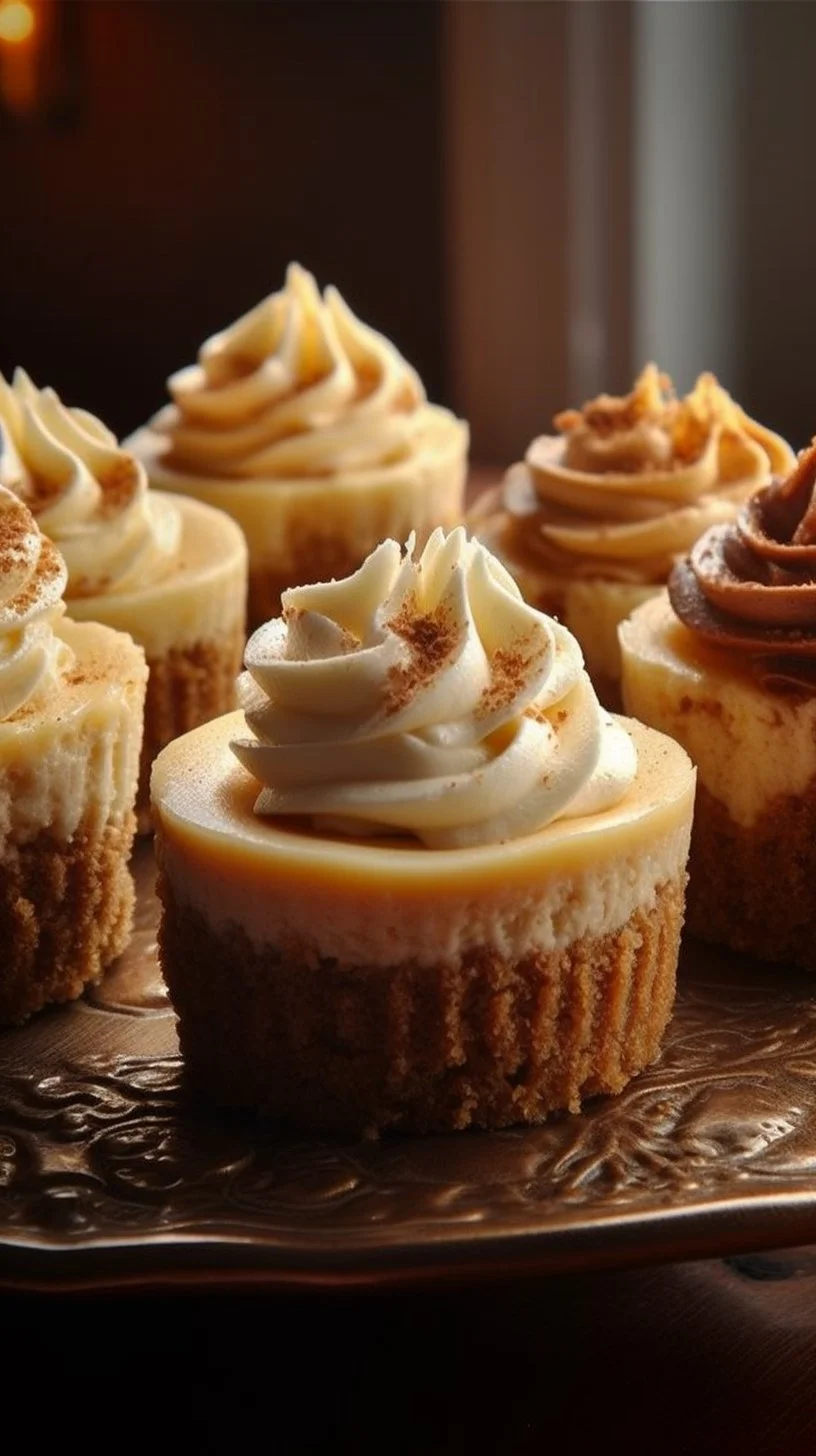
No-bake mini cheesecake cups are a delightful treat that are easy to make and perfect for any occasion. They bring the rich and creamy flavor of cheesecake into small, bite-sized portions that are ideal for sharing. Whether you are hosting a party, having a family gathering, or simply want a sweet treat at home, these mini cheesecakes are a fantastic choice. With just 20 minutes of preparation time, you can impress your guests or satisfy your own sweet cravings without the hassle of baking.
How to Make Irresistible No-Bake Mini Cheesecake Cups
Ingredients:
- 1 cup graham cracker crumbs
- 3 tbsp melted butter
- 1 tbsp sugar
- 8 oz cream cheese, softened
- 1/4 cup sour cream
- 1/2 cup powdered sugar
- 1 tsp vanilla extract
- 1 cup whipped cream
Directions:
- In a bowl, mix the graham cracker crumbs, melted butter, and sugar until everything is combined.
- Press 1 tablespoon of this mixture into the bottom of each mini cupcake liner to create the crust.
- In a separate bowl, beat the softened cream cheese, sour cream, powdered sugar, and vanilla extract until smooth and creamy.
- Gently fold in the whipped cream until it is well blended with the cream cheese mixture.
- Spoon the cheesecake filling over the crusts in each cupcake liner.
- Refrigerate the mini cheesecake cups for at least 2 hours to allow them to set.
- Before serving, top with fresh fruit or chocolate if desired.
How to Serve Irresistible No-Bake Mini Cheesecake Cups
These mini cheesecake cups can be served directly in their liners for easy handling. They are great on a dessert table or as a sweet snack at gatherings. If you want to impress your guests, consider adding a decorative touch, such as a dollop of whipped cream on top or a drizzle of chocolate sauce. They are also perfect for party favors, as guests can take them home easily.
How to Store Irresistible No-Bake Mini Cheesecake Cups
To keep your mini cheesecake cups fresh, store them in an airtight container in the refrigerator. They can last for up to 3-4 days, but they are best enjoyed within the first couple of days. If you plan to top them with fruit or chocolate, it’s better to add those toppings just before serving to maintain their freshness.
Tips to Make Irresistible No-Bake Mini Cheesecake Cups
- Make sure the cream cheese is softened to room temperature for easier mixing and a smoother filling.
- If you want a different flavor, consider adding some zest from a lemon or lime to the filling for a refreshing twist.
- You can use store-bought graham cracker crumbs to save time, or crush whole graham crackers if you prefer making your own.
Variation
You can easily customize these mini cheesecakes by changing the toppings. Consider using crushed cookies, nuts, or various fruits like strawberries, blueberries, or raspberries for added flavors. You might even mix in some chocolate chips to the filling for a chocolate cheesecake version.
FAQs
Can I use a different type of crust?
Yes, you can use different types of crushed cookies, such as Oreos or digestive biscuits, for a unique crust flavor.
How long do the mini cheesecake cups need to set?
They should be refrigerated for at least 2 hours to set properly, but you can leave them longer for a firmer texture.
Can these be made ahead of time?
Absolutely! These mini cheesecake cups can be made ahead of time and stored in the fridge for up to 3-4 days, making them perfect for planning ahead for gatherings.
No-Bake Mini Cheesecake Cups
Ingredients
Method
- In a bowl, mix the graham cracker crumbs, melted butter, and sugar until combined.
- Press 1 tablespoon of the mixture into the bottom of each mini cupcake liner to create the crust.
- In a separate bowl, beat the softened cream cheese, sour cream, powdered sugar, and vanilla extract until smooth and creamy.
- Gently fold in the whipped cream until well blended with the cream cheese mixture.
- Spoon the cheesecake filling over the crusts in each cupcake liner.
- Refrigerate the mini cheesecake cups for at least 2 hours to allow them to set.