There’s a warm hush in my kitchen when I pull this out of the fridge — like Sunday afternoons at Granny’s, when everyone slowed down and took time for a sweet. This Rice Krispy Treat No Bake Cheesecake is the kind of dessert that carries memory and silly little smiles. If you love nostalgic treats, you might also enjoy my take on lemon Rice Krispy Treats for a bright twist.
Why make this recipe
There’s comfort in a recipe that doesn’t need an oven and still feels special. This dessert gives you a playful Rice Krispy crust with a pillowy marshmallow-cheesecake filling — perfect for potlucks, birthdays, or a quiet Wednesday when you want to make someone feel loved. It’s easy, kid-friendly, and the kind of thing that becomes a family favorite before you know it.
How to make Rice Krispy Treat No Bake Cheesecake
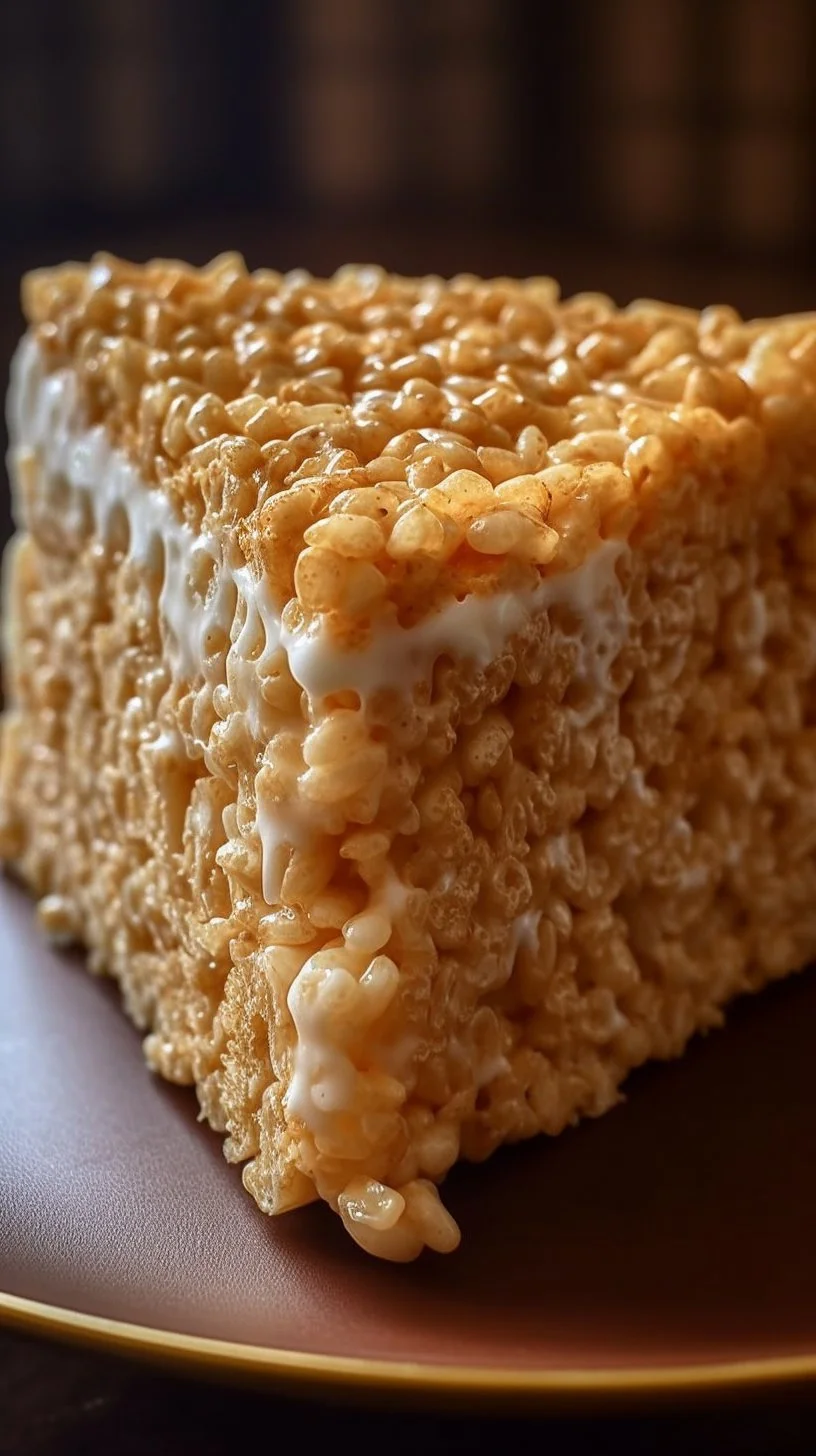
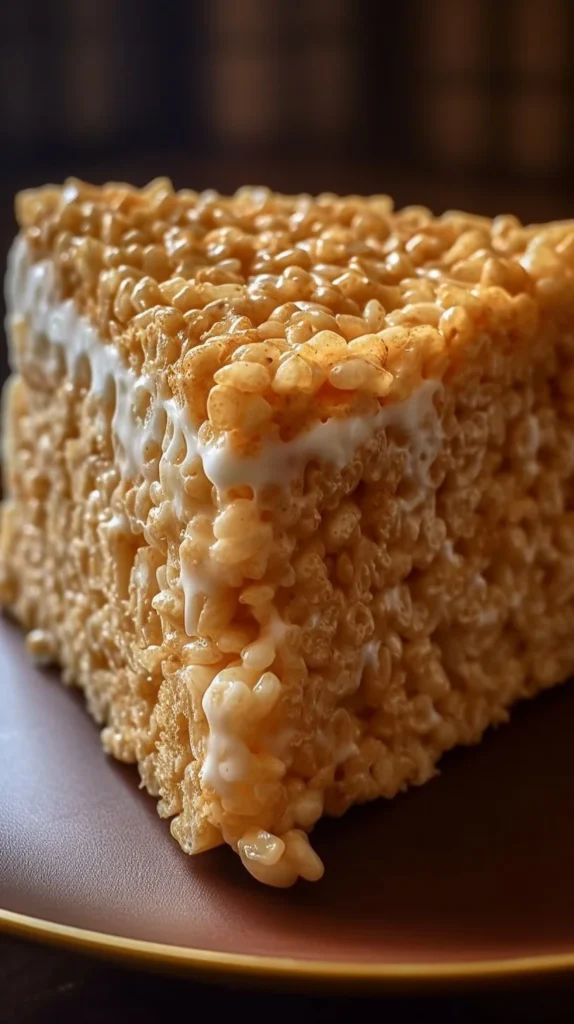
Start by making the crunchy, buttery Rice Krispy crust so it has time to set. Be careful while melting marshmallows — low and slow keeps things from scorching. If you’re the sort who likes a candy-studded finish, consider borrowing ideas from my no-bake Butterfinger treats for topping inspiration while you press the crust into the pan. Once the crust is set, whip together a light, fluffy filling of cream cheese, sugar, marshmallow creme, and Cool Whip, then let it chill until it slices cleanly. It’s all patience and simple steps — the rewards are worth every minute.
Ingredients:
- 6 cups Rice Krispies cereal
- 1/4 cup salted butter
- 1 (10 ounce) bag miniature marshmallows
- 1 (8 ounce) block cream cheese, softened
- 1/2 cup granulated sugar
- 1 tsp pure vanilla extract
- 1 (7 ounce) jar marshmallow creme
- 1 (8 ounce) tub Cool Whip, thawed
- Whipped cream (optional for garnish)
- Cubed store bought or homemade Rice Krispy Treats (optional for garnish)
Directions:
- Generously grease a 9 or 10 inch springform pan with nonstick spray.
- In a large bowl, add the Rice Krispies cereal.
- In a medium saucepan over low heat, melt the butter and marshmallows together, stirring constantly until smooth and fully combined.
- Immediately pour this mixture over the cereal and stir until evenly coated.
- Transfer the sticky cereal mixture into the prepared springform pan. Using a greased glass or spatula, firmly press it into the bottom and slightly up the sides to create a sturdy crust.
- Let it set at room temperature for 15 to 20 minutes.
- In a stand mixer or large bowl, beat the softened cream cheese, sugar, and vanilla until smooth and creamy for about 1 minute.
- Add the marshmallow creme and mix until fully incorporated.
- Gently fold in the Cool Whip by hand using a spatula to preserve its airy texture.
- Pour the filling into the set crust and smooth the top with an offset spatula or the back of a spoon.
- Refrigerate for at least 2 hours, or until the filling is firm and holds its shape when sliced.
- Before serving, pipe or dollop whipped cream around the edge and top with cubed Rice Krispy Treats for a playful finish. Carefully release the springform collar and slice with a warm knife for clean cuts.
How to serve Rice Krispy Treat No Bake Cheesecake
Serve chilled, sliced into generous wedges. A little cloud of whipped cream on each slice makes everyone feel fancy, and those cubed Rice Krispy Treats on top add a playful crunch that kids and grownups both adore. Pair with strong coffee or a tall glass of milk for the fullest comfort.
How to store Rice Krispy Treat No Bake Cheesecake
Keep this cheesecake covered in the refrigerator for up to 3–4 days. If you plan to freeze slices, wrap each piece tightly in plastic wrap and place in an airtight container for up to a month — thaw overnight in the fridge before serving.
Tips to make Rice Krispy Treat No Bake Cheesecake
- Use a greased spatula or glass to press the crust so it comes out evenly and clean.
- Keep your cream cheese at room temperature so it whips up without lumps.
- Be gentle when folding in the Cool Whip to keep the filling light and airy.
- If you want a little extra crunch or chocolatey twist, try sprinkling chopped candy on top like in my favorite no-bake Butterfinger treats.
- Warm your knife under hot water and wipe between slices for clean serving edges.
Variations (if any)
- Chocolate Swirl: Melt a few ounces of chocolate and swirl into the filling before chilling.
- Fruity Twist: Fold in a few tablespoons of fruit jam or top with fresh berries.
- Mini Cheesecakes: Make in individual jars or ramekins for a cute, portable dessert.
- Cheesecake Pops: If you love fun presentations, consider forming small chilled bites to serve as cheesecake pops — I’ve played with that idea over in my no-bake cheesecake pops post.
FAQs
Q: Can I use a different cereal for the crust?
A: Yes — crispy rice cereal is classic for texture, but you can experiment with cocoa rice cereal for chocolate notes or crushed graham crackers if you prefer.
Q: Do I have to use Cool Whip?
A: You can use any stabilized whipped topping or homemade stabilized whipped cream, but Cool Whip gives a reliable, airy texture that’s easy and consistent.
Q: How firm should the crust be before adding the filling?
A: It should be set at room temperature for 15–20 minutes so it holds together when you pour the filling. If it still feels soft, give it another 10 minutes.
Q: Can this be made ahead for a party?
A: Absolutely. Make it the day before and keep it chilled until party time — it actually slices nicer after a good rest in the fridge.
Conclusion
If you’re looking for another similar take on this nostalgic treat, I always enjoy the spin offered by The Domestic Rebel’s Rice Krispy Treat No Bake Cheesecake for inspiration. For a more modern twist and serving ideas, check out the approachable recipe at Delish’s No-Bake Rice Krispies Cheesecake. Pull up a chair, slice a piece, and hand it to someone you love — desserts like this are little invitations to sit down and stay awhile.
Rice Krispy Treat No Bake Cheesecake
Ingredients
Method
- Generously grease a 9 or 10 inch springform pan with nonstick spray.
- In a large bowl, add the Rice Krispies cereal.
- In a medium saucepan over low heat, melt the butter and marshmallows together, stirring constantly until smooth and fully combined.
- Immediately pour this mixture over the cereal and stir until evenly coated.
- Transfer the sticky cereal mixture into the prepared springform pan. Using a greased glass or spatula, firmly press it into the bottom and slightly up the sides to create a sturdy crust.
- Let it set at room temperature for 15 to 20 minutes.
- In a stand mixer or large bowl, beat the softened cream cheese, sugar, and vanilla until smooth and creamy for about 1 minute.
- Add the marshmallow creme and mix until fully incorporated.
- Gently fold in the Cool Whip by hand using a spatula to preserve its airy texture.
- Pour the filling into the set crust and smooth the top with an offset spatula or the back of a spoon.
- Refrigerate for at least 2 hours, or until the filling is firm and holds its shape when sliced.
- Before serving, pipe or dollop whipped cream around the edge and top with cubed Rice Krispy Treats for a playful finish.
- Carefully release the springform collar and slice with a warm knife for clean cuts.