Creating these delightful sugar-free marshmallows is like wrapping up in a warm quilt on a chilly Southern evening. Each soft, sweet bite reminds us of childhood days, when the world felt just a little more magical. With just a handful of ingredients, you’ll be able to conjure that cherished, nostalgic treat right in your own kitchen.
Why make this recipe?
There’s something truly special about homemade treats, especially when they can fit into our dietary needs without sacrificing flavor. These sugar-free marshmallows are perfect for those who want to indulge their sweet tooth while still being mindful of health. Imagine those fluffy puffs in your hot chocolate or as a playful addition to your favorite desserts! With this recipe, you’re not just making marshmallows—you’re creating sweet memories.
How to make Sugar-Free Marshmallows
Ingredients:
- 375 ml water (COLD)
- 5 tbsp granulated sweetener, of choice (or more to your taste)
- 5 tbsp powdered gelatine
- 125 ml water (HOT)
- Berry essence (to taste)
- Peppermint essence (to taste)
- Rose water (to taste)
- Vanilla extract (to taste)
- Food coloring (optional)
Directions:
-
Begin by pouring 375 ml of cold water into a comforting saucepan. Stir in the sweetener gently, allowing the warmth to coax it into dissolving completely. It’s like a little dance—no boiling, just warmth and patience. Go ahead, taste it to see if it’s sweet enough for you! Adjust to your heart’s content.
-
In a separate heatproof jug, mix 125 ml of hot water with the powdered gelatine. Watch in wonder as it transforms—give it a good whisk until everything blends together beautifully.
-
Add the dissolved gelatine to the sweetened warm water in the saucepan and stir it all together. Let that mixture cool, filling your kitchen with the promise of deliciousness.
-
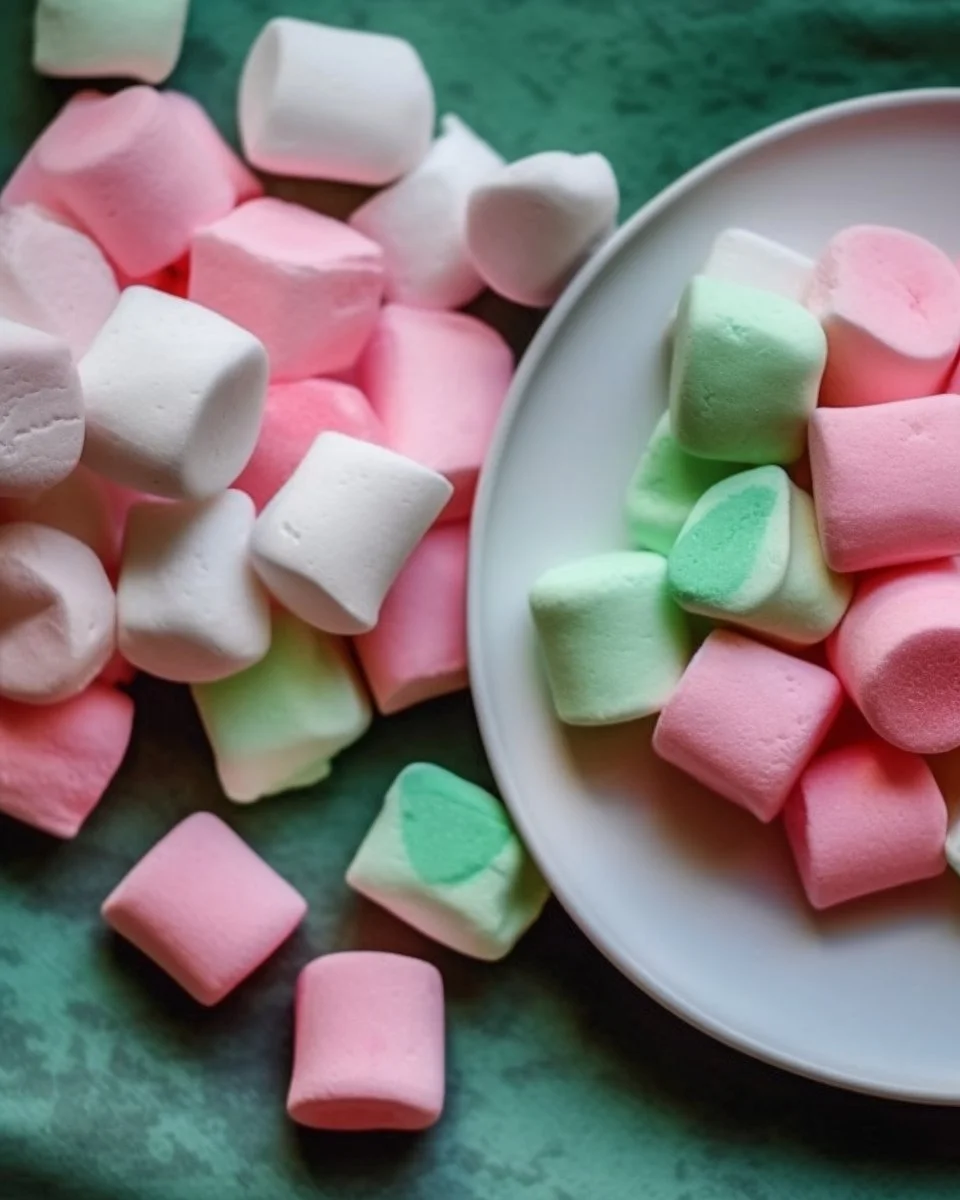
Now, divide this dreamy concoction into four mixing bowls. Each bowl is a canvas for your creativity. Add your preferred flavorings and any food coloring that tickles your fancy.
-
Grab an electric hand mixer and whisk that marshmallow mixture until it’s light, fluffy, and spongy—a cloud of sweetness! Pour it into a lined dish, ready to take its shape. Repeat this process with the other flavors, filling the air with the joy of variety.
-
Place your creation gently in the fridge to set. Once the time has passed, cut it into delightful squares or shapes using a sharp knife. A little tip: dip that knife in warm water before slicing—it’ll stop those marshmallows from sticking!
How to serve Sugar-Free Marshmallows
Imagine cozying up with a warm cup of hot cocoa, adding a few of these fluffy marshmallows on top for that perfect finishing touch. Or perhaps you want to sprinkle them over a berry dessert, letting their sweetness melt into the dish. You can even snag a few for a quick treat right out of the fridge!
How to store Sugar-Free Marshmallows
To keep your fluffy treasures fresh and delightful, place them in an airtight container. They’ll stay good for a week, though I don’t think they’ll last that long with all the joy they bring! Keep them in a cool, dry place, away from sunlight—because nobody likes a sticky situation!
Tips to make Sugar-Free Marshmallows
- Experiment with your favorite extracts! Whether it’s a hint of cinnamon or maybe a splash of coconut, let your imagination guide you.
- If you find the mixture too thick, don’t hesitate to whip it a bit longer. You’re aiming for clouds of fluffiness!
- Consider using pink Himalayan salt or a sprinkle of cocoa for a touch of contrast—just enough to balance the sweetness.
Variations
Feel free to explore the world of flavors! You could use citrus extracts for a refreshing twist, or even create a chai-spiced version with hints of cinnamon and nutmeg. Each variation tells a different story, embracing the beauty of creativity in the kitchen.
FAQs
-
Can I use different types of sweeteners?
Absolutely! From stevia to erythritol, pick what suits your taste and dietary needs best. Just remember to adjust the amount based on the sweetness level you desire! -
Why is my marshmallow mixture not thickening?
Sometimes, it just needs a little more love. Ensure that your gelatine is completely dissolved and allow it to whip a bit longer to achieve that perfect fluffiness. -
Can I make them ahead of time?
Yes, indeed! These marshmallows can be made a few days in advance. Just store them in an airtight container and enjoy them when the craving strikes.
As we gather around our kitchens filled with love, let us remember that food is not just about sustenance—it’s about connection, laughter, and sweet moments shared with loved ones. So, whether you make these marshmallows for yourself or to share with friends and family, know that every bite carries the warmth of those connections. Here’s to sweet memories and the joy of homemade goodness!

Sugar-Free Marshmallows
Ingredients
Method
- Pour 375 ml of cold water into a saucepan and add the sweetener, stirring gently until dissolved.
- In a separate heatproof jug, mix 125 ml of hot water with the powdered gelatine, whisking until well combined.
- Combine the gelatine mixture into the sweetened water in the saucepan and mix well, then let it cool.
- Divide the mixture into four bowls, adding varied flavorings and colors to each.
- Using an electric mixer, whip the marshmallow mixture until light and fluffy.
- Pour the mixture into a lined dish and set in the fridge to harden.
- Once set, cut into squares or desired shapes, dipping a knife in warm water to reduce sticking.