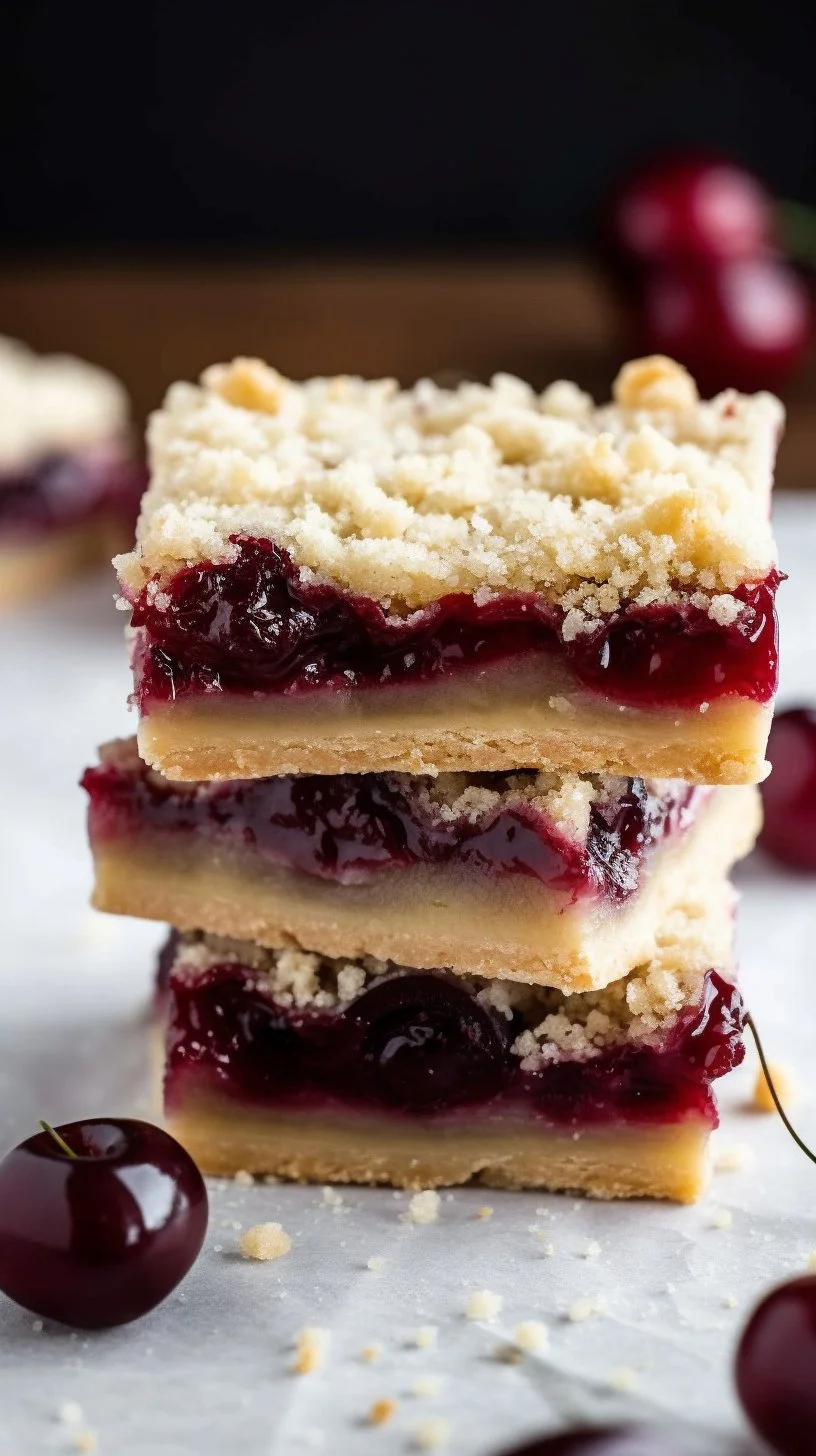
In each sun-kissed morsel of Cherry Pie Bars, a symphony of flavors unfolds—a delicate embrace of tart and sweet, cradled within a buttery, crumbly crust. This humble treat echoes the joys of summer, offering a glimpse of warm afternoons and laughter shared over dessert. Allow yourself to be transported to a place where the art of baking and the love of simple pleasures converge.
Why make this recipe
Creating Cherry Pie Bars is an ode to the wonder of seasonal fruits and the joy of baking with loved ones. The alluring aroma of cherries wafting through your kitchen serves as an invitation to gather, to share—each bite a reminder that such small delights are worthy of celebration. With minimal effort and maximal flavor, these bars are a canvas waiting for your artistic touch.
How to make Cherry Pie Bars
Baking these Cherry Pie Bars requires but a few simple ingredients, each one adding a layer of texture and taste that harmonizes beautifully in the oven’s warm embrace. Prepare your space, let your heart fill with anticipation, and reach for the following ingredients.
Ingredients:
- 1/2 cup unsalted butter, melted and cooled to room temperature
- 1/2 cup granulated sugar
- 1 1/2 cups all-purpose flour
- 1/2 teaspoon baking soda
- 1/2 teaspoon baking powder
- 1/4 teaspoon kosher salt
- 2 cups cherry pie filling
Directions:
Begin by preheating your oven to a warm 375 degrees F. Prepare your baking vessel—an 8×8 inch pan lined with parchment paper, allowing the paper to rise along the sides, creating a gentle cradle for your creation. In a large mixing bowl, combine the melted butter and sugar, stirring until they meld together into a silky blend.
Next, introduce the flour, baking soda, baking powder, and salt to the mixture, stirring until the texture transforms into delightful crumbs that evoke the heartiness of a rustic crust. Set aside 3/4 cup of these precious crumbs, destined to crown your creation. Firmly press the remaining mixture into the lined pan, crafting a sturdy foundation for the luscious cherry filling that will soon grace it.
Pour the vibrant cherry pie filling over the pressed crust, allowing the ruby red fruits to cascade within. With gentle hands, sprinkle the reserved crumb mixture evenly over the top, a delicate snow that promises crunch against the juicy filling.
Bake in the preheated oven for 23-25 minutes, watching as the bars transform into a golden hue, their aroma mingling with the sweet laughter of memories yet to come. Once baked, allow the bars to cool completely before cutting them into squares, inviting you to savor each perfect piece.
How to serve Cherry Pie Bars
Presenting these Cherry Pie Bars is where your artistry truly shines. Serve them warm, perhaps with a dollop of whipped cream or a scoop of vanilla ice cream, allowing the contrasting temperatures to dance on the palate. In a quaint dish, they become delightful companions to afternoon tea or a festive gathering, their charm undeniable, their flavor unforgettable.
How to store Cherry Pie Bars
To preserve the essence of these bars, store them in an airtight container at room temperature for up to three days. If you wish to stretch their delightful existence, consider refrigerating them for up to a week. Should you be fortunate enough to have leftovers, freezing in individual portions will enchant you with the sweet anticipation of indulging on a crisp winter evening.
Tips to make Cherry Pie Bars
For a richer flavor, consider browning the butter before mixing it with sugar; this will provide a deeper, nuttier toastiness to your base. To elevate the cherry experience, add a splash of almond extract for a subtle depth or mix in a handful of chocolate chips for an indulgent twist.
Variations
Feel free to embrace creativity in your baking. Swap out the cherry filling for blueberries or ripe peaches, each bringing its unique essence to the blend. Alternatively, fold in sliced almonds or coconut for texture, crafting a new interpretation of these delightful bars.
FAQs
Can I use fresh cherries instead of pie filling?
Indeed! If using fresh cherries, pit and slice them, then mix them with a little sugar and cornstarch to create a similar consistency and balanced sweetness.
Can I make these bars gluten-free?
Certainly! Substitute the all-purpose flour with a gluten-free blend, ensuring it is suitable for baking.
How do I know when the bars are done baking?
Look for a golden brown crust and bubbly filling, allowing you to savor a perfectly crafted treat.
In the crafted act of baking, we find a reflection of life—with patience and care, the simplest ingredients are transformed into something beautiful. Cherish the process, for it is in the gentle rhythm of flour, sugar, and fruit that we discover the poetry of our kitchens.

Cherry Pie Bars
Ingredients
Method
- Preheat your oven to 375°F (190°C). Prepare an 8x8 inch pan lined with parchment paper.
- In a large mixing bowl, combine the melted butter and sugar, stirring until well blended.
- Add the flour, baking soda, baking powder, and salt to the mixture, stirring until crumbly.
- Set aside 3/4 cup of the crumb mixture. Press the remaining mixture firmly into the lined pan.
- Pour the cherry pie filling over the crust.
- Sprinkle the reserved crumb mixture evenly over the top.
- Bake in the preheated oven for 23-25 minutes, until golden brown.
- Allow the bars to cool completely before cutting into squares.