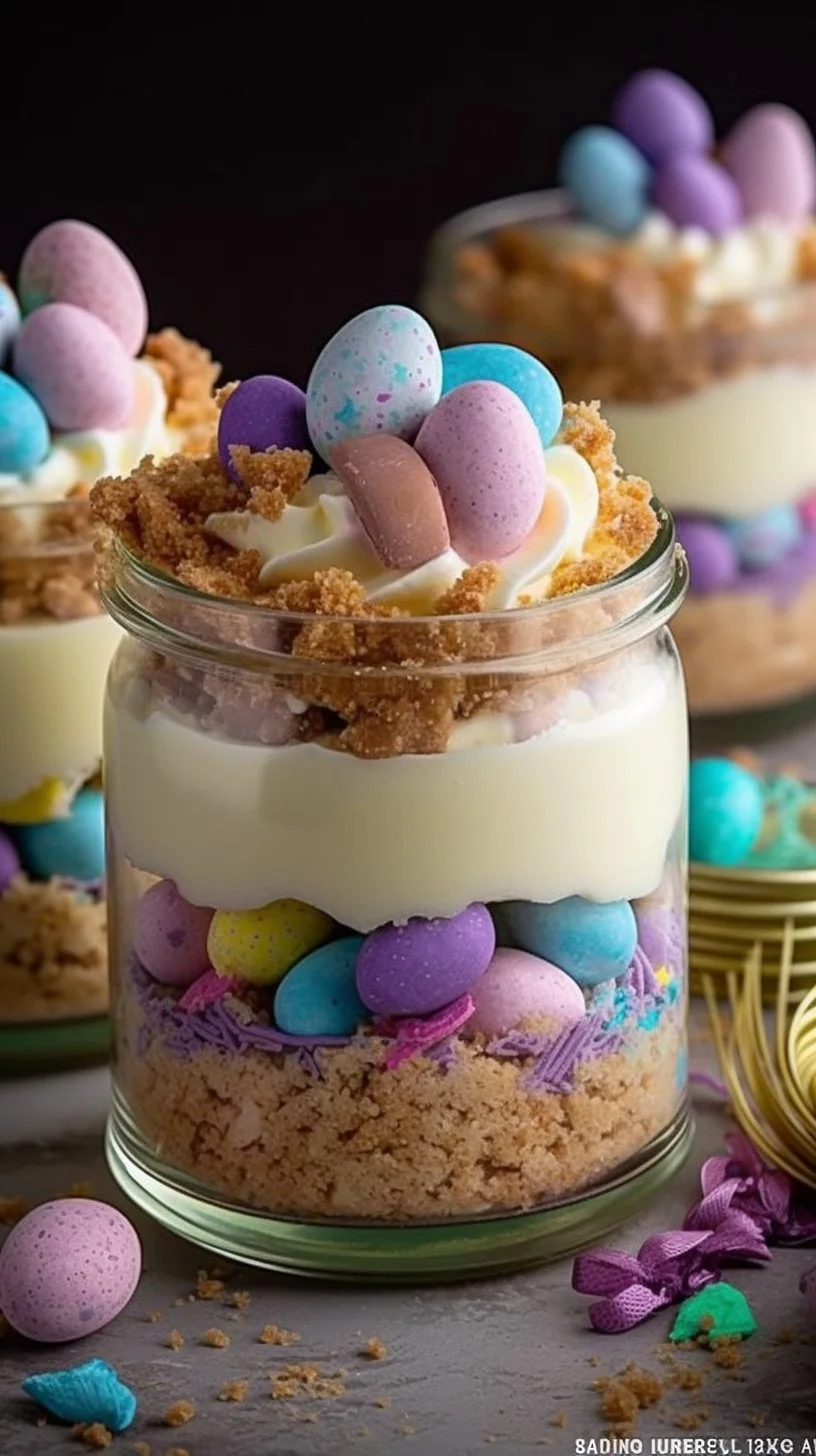
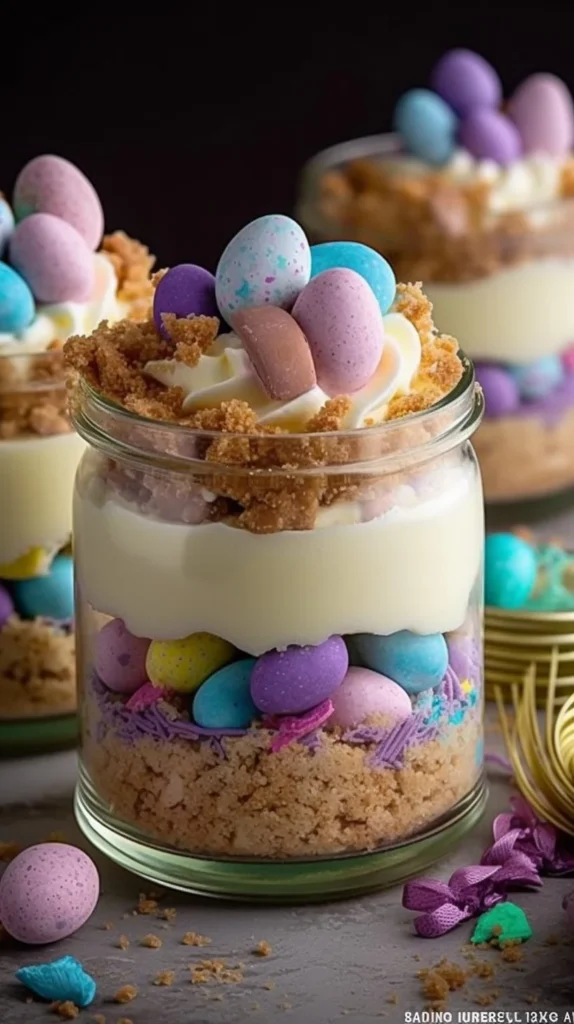
A hush of vanilla and lemon; the crumb gives a soft sigh beneath a cloud of cream. No-Bake Easter Cheesecake Cups are a small ritual—cool, pastel, and quietly celebratory—meant to be tasted slowly.
Why make this recipe
These cups are the kind of dessert that arrives without fuss and rewards with texture: a sandy graham crust, a pillowy cream cheese interior, and a gentle tang of lemon that brightens the whole. They are perfect for spring gatherings when you want something elegant but uncomplicated, and a delightful way to portion joy. If you like the intimacy of single-serving desserts, consider the charm of no-bake mini cheesecake cups for further inspiration.
How to make No-Bake Easter Cheesecake Cups
Begin with cool, dry ingredients and chilled tools; the contrast between the buttery crumbs and the frothy filling is the point of pleasure here. If you want a different spice or cookie profile beneath your filling, the warmth of cookie butter makes a lovely alternative—see a creative take in these cookie butter cheesecake cups for ideas.
Ingredients:
- 1 1/2 cups graham cracker crumbs
- 1/4 cup granulated sugar
- 6 tablespoons unsalted butter, melted
- 16 ounces cream cheese, softened
- 3/4 cup powdered sugar
- 1 teaspoon pure vanilla extract
- 1 tablespoon fresh lemon juice
- 1 cup heavy whipping cream, cold
- 1 cup whipped topping (for garnish)
- 1/2 cup pastel candy-coated chocolate eggs
- 2 tablespoons Easter sprinkles
Directions:
- In a medium bowl, combine graham cracker crumbs and granulated sugar. Stir in melted butter until the mixture resembles wet sand.
- Spoon about 2 tablespoons of the crust mixture into the bottom of each serving cup or small jar. Press down gently with the back of a spoon to form an even layer. Place cups in the refrigerator while preparing the filling.
- In a large mixing bowl, beat the softened cream cheese with an electric mixer until smooth and creamy, about 2–3 minutes.
- Add powdered sugar, vanilla extract, and lemon juice. Beat until fully combined and smooth, scraping down the sides as needed.
- In a separate chilled bowl, whip the cold heavy cream on medium-high speed until stiff peaks form.
- Gently fold the whipped cream into the cream cheese mixture in two additions, mixing just until no streaks remain.
- Spoon or pipe the cheesecake filling evenly over the chilled crust layer in each cup. Smooth the tops with a spoon or spatula.
- Cover and refrigerate for at least 2 hours, or until fully set and firm.
- Before serving, top each cup with a swirl of whipped topping, a few pastel chocolate eggs, and a sprinkle of Easter decorations.
How to serve No-Bake Easter Cheesecake Cups
Serve chilled, lifting each cup to the light so the pastel eggs catch the eye. A small spoon helps reveal the layered textures: the firm base, the airy filling, the glossy candies. Present them on a platter with a soft linen napkin and let guests choose their own little celebration.
How to store No-Bake Easter Cheesecake Cups
Keep covered and refrigerated for up to 3 days. The crust softens with time, so if you prefer a crisper bite, store the crumbs separately and assemble the cups within 24 hours. For longer storage, freeze the cups (without the candy decorations) up to one month; thaw overnight in the refrigerator before garnishing.
Tips to make No-Bake Easter Cheesecake Cups
- Beat the cream cheese until entirely smooth before adding powdered sugar; any lumps will show in the final texture.
- Chill your mixing bowl when whipping the heavy cream; cold metal helps form stiffer peaks faster.
- If you want a spiced or bolder crust, swap the graham crumbs for a cookie butter base—this variation leans rich and aromatic and is explored in these cookie butter cheesecake cups.
- Pipe the filling for a neat presentation; a wide star tip adds soft ridges that catch the light.
Variations (if any)
- Lemon curd ripple: fold in a tablespoon of lemon curd for a brighter center.
- Berry compote: spoon cool berry compote between crust and filling for a jewel-toned surprise.
- Chocolate-hazelnut: fold finely chopped candy eggs and a tablespoon of chocolate-hazelnut spread into the crust for a decadent twist.
- Gluten-free: use gluten-free graham crumbs or ground almonds with a touch more butter.
FAQs
Q: Can I make these without heavy cream?
A: Yes—use a thicker whipped topping folded in gradually, but expect a slightly denser texture. Heavy cream gives the lightest, most airy result.
Q: How long do they need to set?
A: At least 2 hours in the refrigerator for the filling to firm up; longer (3–4 hours) is fine and often preferable for clean slices if you remove them from cups.
Q: Can I prepare them the day before?
A: Absolutely. They keep beautifully overnight and will meld flavors, though the crust will soften slightly.
Q: Are these suitable for parties where guests might be on the go?
A: Yes. Their single-serving format makes them ideal for outdoor gatherings; keep them refrigerated until the moment of serving.
Q: Can I replace the candy eggs with fresh fruit?
A: Fresh berries or thin citrus slices make a fresh, seasonal garnish and contrast delightfully with the creamy filling.
Conclusion
For a pastel, egg-speckled inspiration that leans into robin-egg charm, you might enjoy the Robin Eggs No-Bake Cheesecake Recipe, which captures similar springtime whimsy. If you’re exploring layered, no-bake presentations for a holiday spread, the No Bake Cheesecake Trifle from Hoosier Homemade offers lovely ideas for scaling and styling your dessert table.
There is a small, quiet beauty in waiting—each chilled hour is a careful stroke toward perfection, and patience, like sugar and cream, yields something utterly kind.
No-Bake Easter Cheesecake Cups
Ingredients
Method
- In a medium bowl, combine graham cracker crumbs and granulated sugar.
- Stir in melted butter until the mixture resembles wet sand.
- Spoon about 2 tablespoons of the crust mixture into the bottom of each serving cup or small jar.
- Press down gently with the back of a spoon to form an even layer.
- Place cups in the refrigerator while preparing the filling.
- In a large mixing bowl, beat the softened cream cheese with an electric mixer until smooth and creamy, about 2–3 minutes.
- Add powdered sugar, vanilla extract, and lemon juice. Beat until fully combined and smooth, scraping down the sides as needed.
- In a separate chilled bowl, whip the cold heavy cream on medium-high speed until stiff peaks form.
- Gently fold the whipped cream into the cream cheese mixture in two additions, mixing just until no streaks remain.
- Spoon or pipe the cheesecake filling evenly over the chilled crust layer in each cup.
- Smooth the tops with a spoon or spatula.
- Cover and refrigerate for at least 2 hours, or until fully set and firm.
- Before serving, top each cup with a swirl of whipped topping, a few pastel chocolate eggs, and a sprinkle of Easter decorations.